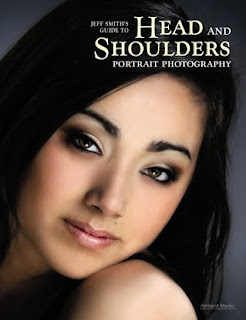
 Today's post features a few of the many tips available in Jeff Smith's Guide to Head and Shoulders Portrait Photography. It is available from Amazon.com and other fine retailers.
While there are many problems to correct, even in a head and shoulders style portrait, the following are the major ones. Basically, you’ll need to adapt your poses to cover, disguise, or cast a shadow on the areas of the body and face that are problems. You will find that many of the more relaxed poses already hide some of the most annoying problems your clients have.
Double Chin. A double chin (or the entire neck area) is easily hidden by resting the chin on the hands, arms, or shoulders. Be careful that the subject barely touches his or her chin down on the supporting element. Resting on it too heavily will alter the jawline.

Another way to make a double chin and loose skin on the neck easier on your client’s eyes is to stretch the area, pulling it tighter. To do this, turn the body away from the light, then turn the face back toward the light. This will stretch out the double chin so that it will not be as noticeable.

In poses like these, the neck and chin area is concealed. This is helpful for hiding the area if it’s a problem—but the poses also look great for trim subjects.

When a traditional head and shoulders pose is needed (for a yearbook, business publication, etc.), it is sometimes impossible to use the hands or arms to hide this problem area. Posing the body to make the neck stretch can only do so much to hide a large double chin. In a case like this, you do what some photographers call the “turkey neck.” To do this, have the subject extend their chin directly toward the camera, which stretches out the double chin. Then have them bring down their face to the proper angle. Most of the time, this eliminates the double chin from view. This technique is especially helpful when photographing a man who is wearing a shirt and tie. Men who have large double chins often also have tight collars, which push up the double chin and make it even more noticeable.


Wide or Narrow Faces. If the subject has a wider face, you can slim it by increasing the angle of the face to the main light. This creates more shadowing on the face. Conversely, if the subject has a very narrow face, you can make it look fuller by decreasing the angle of the face to the main light. In both cases, however, note that this change will result in other lighting changes on the face, such as the nose becoming more prominent as the face is turned away from the main light to slim it.
Ears. Corrective posing is the best way to combat the problem of ears that stick out too far. Ladies who have a problem with their ears usually wear their hair over them. In this case, make sure that the subject’s hair isn’t tucked behind her ear, as this will make the ears stand out. Larger ears can also stick out through the hair, making them appear really large.
Without hair to conceal them, the best way to reduce the appearance of the ears is to turn the face toward the main light until the ear on the main-light side of the face is obscured from the camera’s view. Then, move the fill source farther from the subject to increase the shadow on the visible ear, or move the main light more to the side of the subject to create a shadow over the ear. Reducing the separation between the subject and the background in this area will also make the outline of the ear less visible. Overhead hair lights should be turned off to avoid highlighting the top of the ear.


In a situation where the ears are so large that they can’t be hidden in this manner, you have two choices: either let the ears be seen or highlight only the “mask” of the face, letting both sides of the face fall into shadow.
BUY THIS BOOK FROM AMAZON


