Today's post comes from the book Doug Box's Flash Photography: On- and Off-Camera Flash for Digital Photographers by Doug Box. It is available from Amazon.com and other fine retailers.
Color Conversion GelsEvery light source, natural or artificial, has a specific color temperature, measured in Kelvin degrees. Daylight and flash, for instance, have a color temperature of about 5500K, while incandescent light measures about 3200K. The lower the temperature of the source, the “warmer” the light. The higher the color temperature, the “cooler” the light.
When you’re working in the studio, you have complete control over your lighting. However, when you’re shooting on location, you will encounter many lighting variables. When you’re faced with working with lights of different color temperatures, you have a powerful tool at your disposal: gels. These gelatin sheets can be used to modify your light source, changing the color temperature of your flash. You cannot gel the ambient light, so you must gel your on or off-camera flash to match the color temperature of the ambient light.
 Here is an image taken on a cruise ship. It was nighttime, so the incandescent lightbulbs provided the only light in the scene. To capture the final image, I determined the exposure, placed a conversion filter on my flash, and changed the camera’s white balance preset to incandescent. That was it.
  I photographed this image using an off-camera flash (5500K) modified with a color conversion gel to bring the flash temperature to 3200K. I also set the camera’s white balance preset to incandescent in order to produce neutral skin tones on the subject. However, the rest of the image has a blue color cast because the light is 5500K or higher. In addition, the light is flat and boring. The exposure was f/4 at 1/6 and ISO 200. The flash metered at f/4.
  Here is the setup shot for the final image. The softbox was placed at the 45º/45º position. It was positioned perpendicular to the ground, so that the face of the box was parallel to the subject’s face. If you take a close look the final image, you can see that this rendered the face perfectly lit, and the light gently fell off so the subject’s shirt and pants—and even the rock wall—did not appear overlit. A small Morris Midi light with a warm gel was used below and behind the subject as a rim light.
  Here is the final image. Selecting a faster shutter speed (1/60) rendered the background 3.5 stops underexposed, rendering the sky darker and more dramatic.
The images of the biker below were made in a challenging lighting situation. Let’s take a look at how I was able to make a successful image using gels and flash exposure compensation.
Here’s the scenario: The light in this scene came from streetlights—sodium vapor lights with a color temperature of roughly 2750K. I didn’t have the proper gel to convert my flash to 2750K, so I used a color conversion gel to produce an incandescent color balance, which is approximately 3200K. As you can see, the background is a little warm and the man’s back is too dark. The color isn’t perfect, but I like the way it looks. The exposure was f/4 at 0.5 second and ISO 200. In the first image, the on-camera flash was off.
To create the second, third, and fourth and fifth images in the series, I changed the flash exposure compensation on my ungelled on-camera flash to –3, –2, and –1, and 0 respectively. I used the flash compensation setting on the back of the flash rather than making the change via my camera. It is faster and allows for a –3 exposure, versus the camera’s maximum setting of –2. Each of the images in this series was made using the E-TTL mode on the on-camera flash, and each has a different contrast range, yet the images were captured almost as quickly as the flash recycled. The exposure of the subject’s face was consistent throughout all of the images because the off-camera flash was used in manual mode. The camera was also used in the manual mode.
 Each of the images in this series was made using the E-TTL mode on the on-camera flash, and each has a different contrast range, yet the images were captured almost as quickly as the flash recycled. Note that the subject’s back, which was initially quite dark, became lighter with each exposure change. The exposure of the subject’s face was consistent throughout all of the images because the off-camera flash was used in manual mode. The camera was also used in the manual mode. As the man’s back becomes lighter, it also becomes more blue because of the color cast that an ungelled on-camera flash added when lighting the back of the subject.What a difference using gelled flash can make! The flash exposure compensation for the final image was set to –2.
Using Gels for Creative EffectSure, gels come in handy when you need to convert your flash units to match the color of the ambient light in the scene, but you can also use gels to create more interesting effects. There are some times when you may want to add strong color to a background or to an overall scene to create a more diverse array of image looks or moods. I keep a pack of gels in my camera bag at all times. I am surprised at how often I grab a little piece of color magic.
The images on the next page show how you can use gels to create a wide variety of portrait looks for your clients. By adding creative color to your images, you can add mood and character to your portrait offerings, which can lead to bigger sales.
 This image was made with an ungelled flash and a softbox
  Here, you can see the effect that was achieved when a purple gel was added to the kicker light (a flash) positioned behind the subject. I like both photographs, but the one made with the gelled flash seems to have more depth and appeal.

 To create these two images, I used small Morris slaves with gels to color the black corrugated tin background.
 To create the final image, I simply pointed the lights toward the camera, and they became an interesting part of the overall composition.

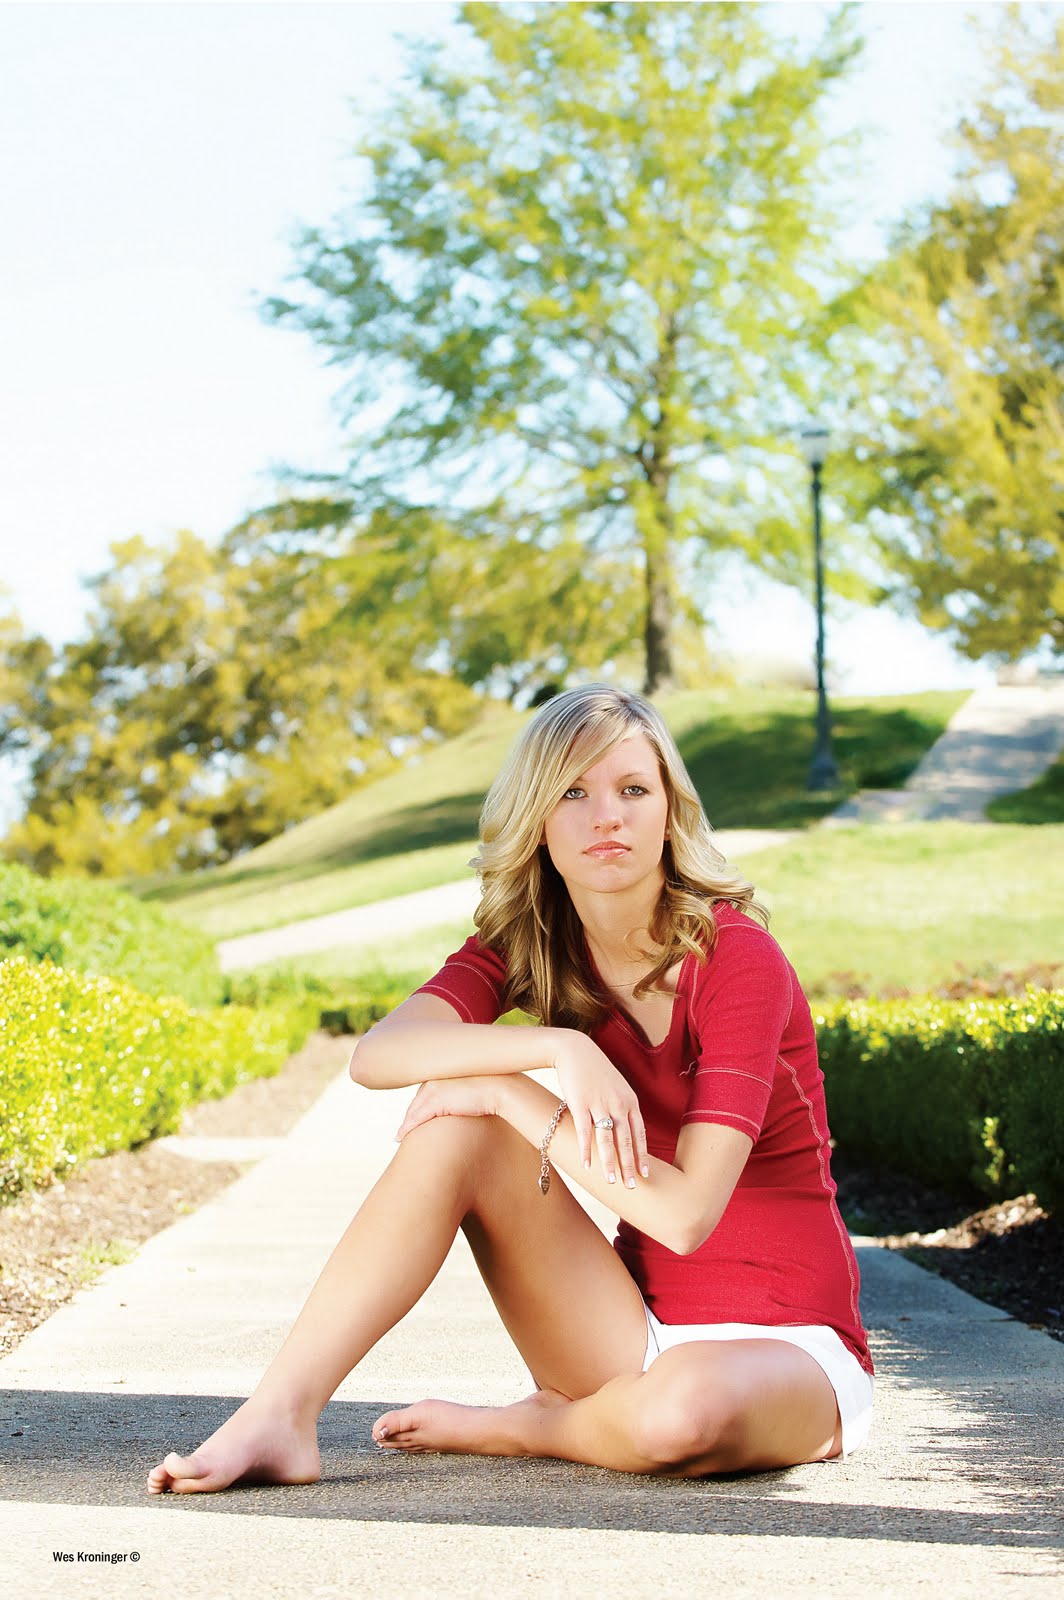
 Today's post comes from the book Wes Kroninger's Lighting: Design Techniques for Digital Photographers by Wes Kroninger. For this post we are featuring two of his many lighting designs from the book. In this book Kroninger showcases a number of his remarkable images and breaks them down into how they were setup and what equipment was used to achieve the final result, often times including valuable tips about that shot. Each shot is accompanied by multiple diagrams. This book is available from Amazon.com and other fine retailers.